
How to step and repeat: single and double cut
User guide contents ↓Step & repeat lays out rectangular items that are cut with straight cuts on a guillotine or paper cutter: business cards, square stickers, flyers and tickets. Choose Step & repeat (instead of Die-cut nesting) at the top of the left column.
Overview, use cases and the ready-to-use workspace: step and repeat imposition for labels and business cards.
Sheet size and safe margin
In the right sidebar under Sheet size, pick a size from the list (ISO sizes A4, SRA4, A3, SRA3; US sizes Letter, Legal, Tabloid, 12 × 18 in, 13 × 19 in) or Custom and type the width and height, then choose Portrait or Landscape. The line underneath shows the sheet size and the work area: the space left for labels after the margins are taken off. If your browser is set to a US or Canadian locale, Trimto starts on Letter and Tabloid; otherwise it starts on A4.
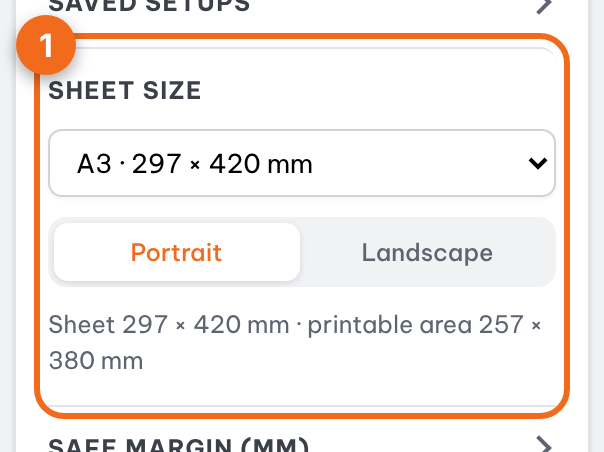
Safe margin (Top, Bottom, Left, Right): a strip along each sheet edge where nothing is placed. Most printers cannot print right to the edge, and presses need room for the grippers that pull the sheet, so check your machine: 3–5 mm is common for office and digital printers, 8–12 mm on the gripper edge of an offset press.
Save your setup
Each press and stock usually needs its own settings. Saved setups, at the top of the right sidebar, stores them so you can reuse them later:
- Set the sheet size, margins, spacing, bleed, cut line offset and cut type.
- Type a Setup name, for example "Konica A3+ vinyl", then click Save. Saving again with the same name updates that setup.
- Next time, pick it under Use a setup: every setting and the cut type (step & repeat or die-cut) is applied at once.
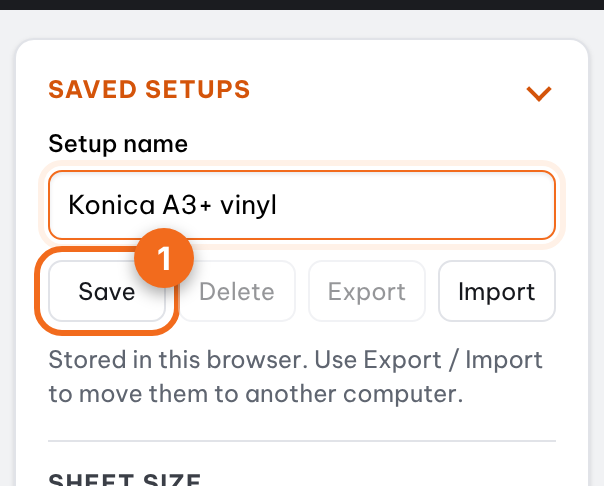
Saving needs a free sign-in. Setups are kept only in this browser, not on Trimto's server, so another computer or browser will not see them. To move them, click Export to download all setups as one .json file, then Import it elsewhere or send it to a colleague. An imported setup replaces any setup with the same name.
Single cut or double cut
In the right column, expand Cut settings (collapsed by default) and pick the cut style:
| Style | Layout | Use when |
|---|---|---|
| Single cut | Neighbouring items share one cut line | White backgrounds or designs without bleed; saves the most paper |
| Double cut | Each item has its own bleed, with a gap between items = 2 × bleed | Full-bleed designs with color extending to the edge |
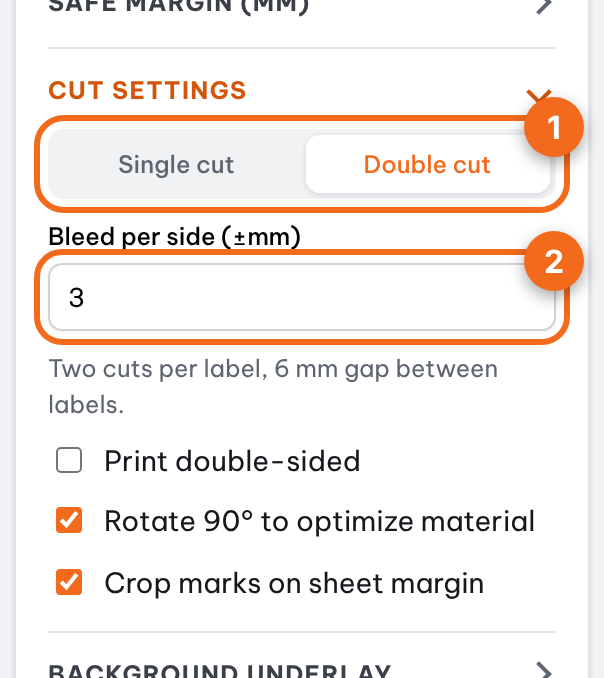
Bleed per side tells Trimto where the knife should land relative to each label's trim edge (the finished size of your design). It applies to both cut styles; 2–3 mm is typical:
| Bleed | Single cut | Double cut |
|---|---|---|
| Positive (e.g. 2 mm) | Labels sit 2 × bleed apart and share one cut down the middle. Each finished piece keeps the bleed on every side, so it comes out slightly larger than the design (a 90 × 55 mm card with 2 mm becomes 94 × 59 mm). | Each label keeps its own bleed; the gap between labels is 2 × bleed and is cut away as waste. Finished pieces are exactly the design size. |
| Zero | Labels touch and share one cut on the trim edge. | Same as single cut. |
| Negative (e.g. −1 mm) | The shared cut lands 1 mm inside each label, trimming that much off every edge. Useful when the file's page already includes the bleed. | Labels touch; each label gets its own cuts 1 mm inside its edge. |
The hint under the field repeats the result in words for the value you typed. When a file sent from File setup already contains bleed, this step switches to Double cut and fills in that bleed for you. See also Add bleed for print files.
Files without enough bleed
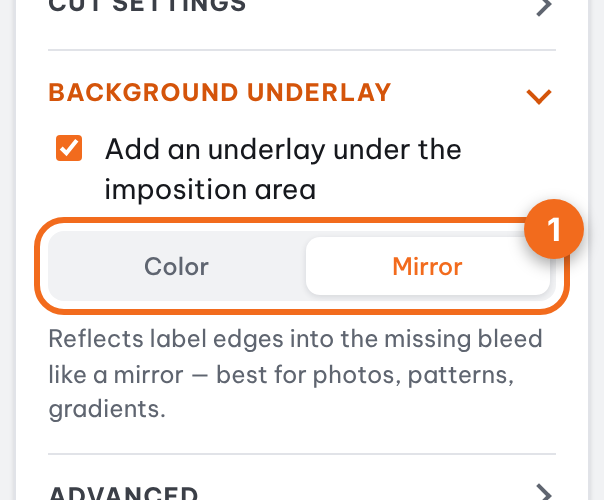
When a design has less bleed than the value you set, its card in the left column says so (for example "Bleed available in file: 0 mm - less than the 2 mm needed"). The missing bleed stays white unless you turn on Background underlay (tick Add an underlay under the imposition area) and pick:
- Color: fills one color under the label block, best for solid backgrounds.
- Mirror: reflects the edge into the bleed area like a mirror, with corners flipped both ways. Best for photos, patterns and gradients. Shown in the preview right away and included in the PDF (a 300 dpi image under the original artwork, which stays vector). Only available when bleed is above 0.
Additional options
- Rotate 90° to optimize material: rotates some items to fit more onto the sheet.
- Crop marks on sheet margin: short lines outside the label block that show the cutter operator where each cut goes. They need about 5 mm of room, so when the safe margin is smaller Trimto automatically keeps 5 mm free around the block.
Tip: for business cards with a white background, use single cut with 0 mm bleed to fit more cards on the same sheet.
Further reading
- Adobe InDesign Help, Print bleed and slug areas: how designers set bleed before exporting the PDF.
- Wikipedia, Bleed (printing) and Crop marks: why the knife needs bleed and how crop marks guide it.
- Trimto Learn: Bleed, trim and safe area explained.
- Wikipedia, Paper size and ISO 216: ISO A and SRA sizes and US sizes compared.
- Trimto Learn: How many business cards fit on a sheet.