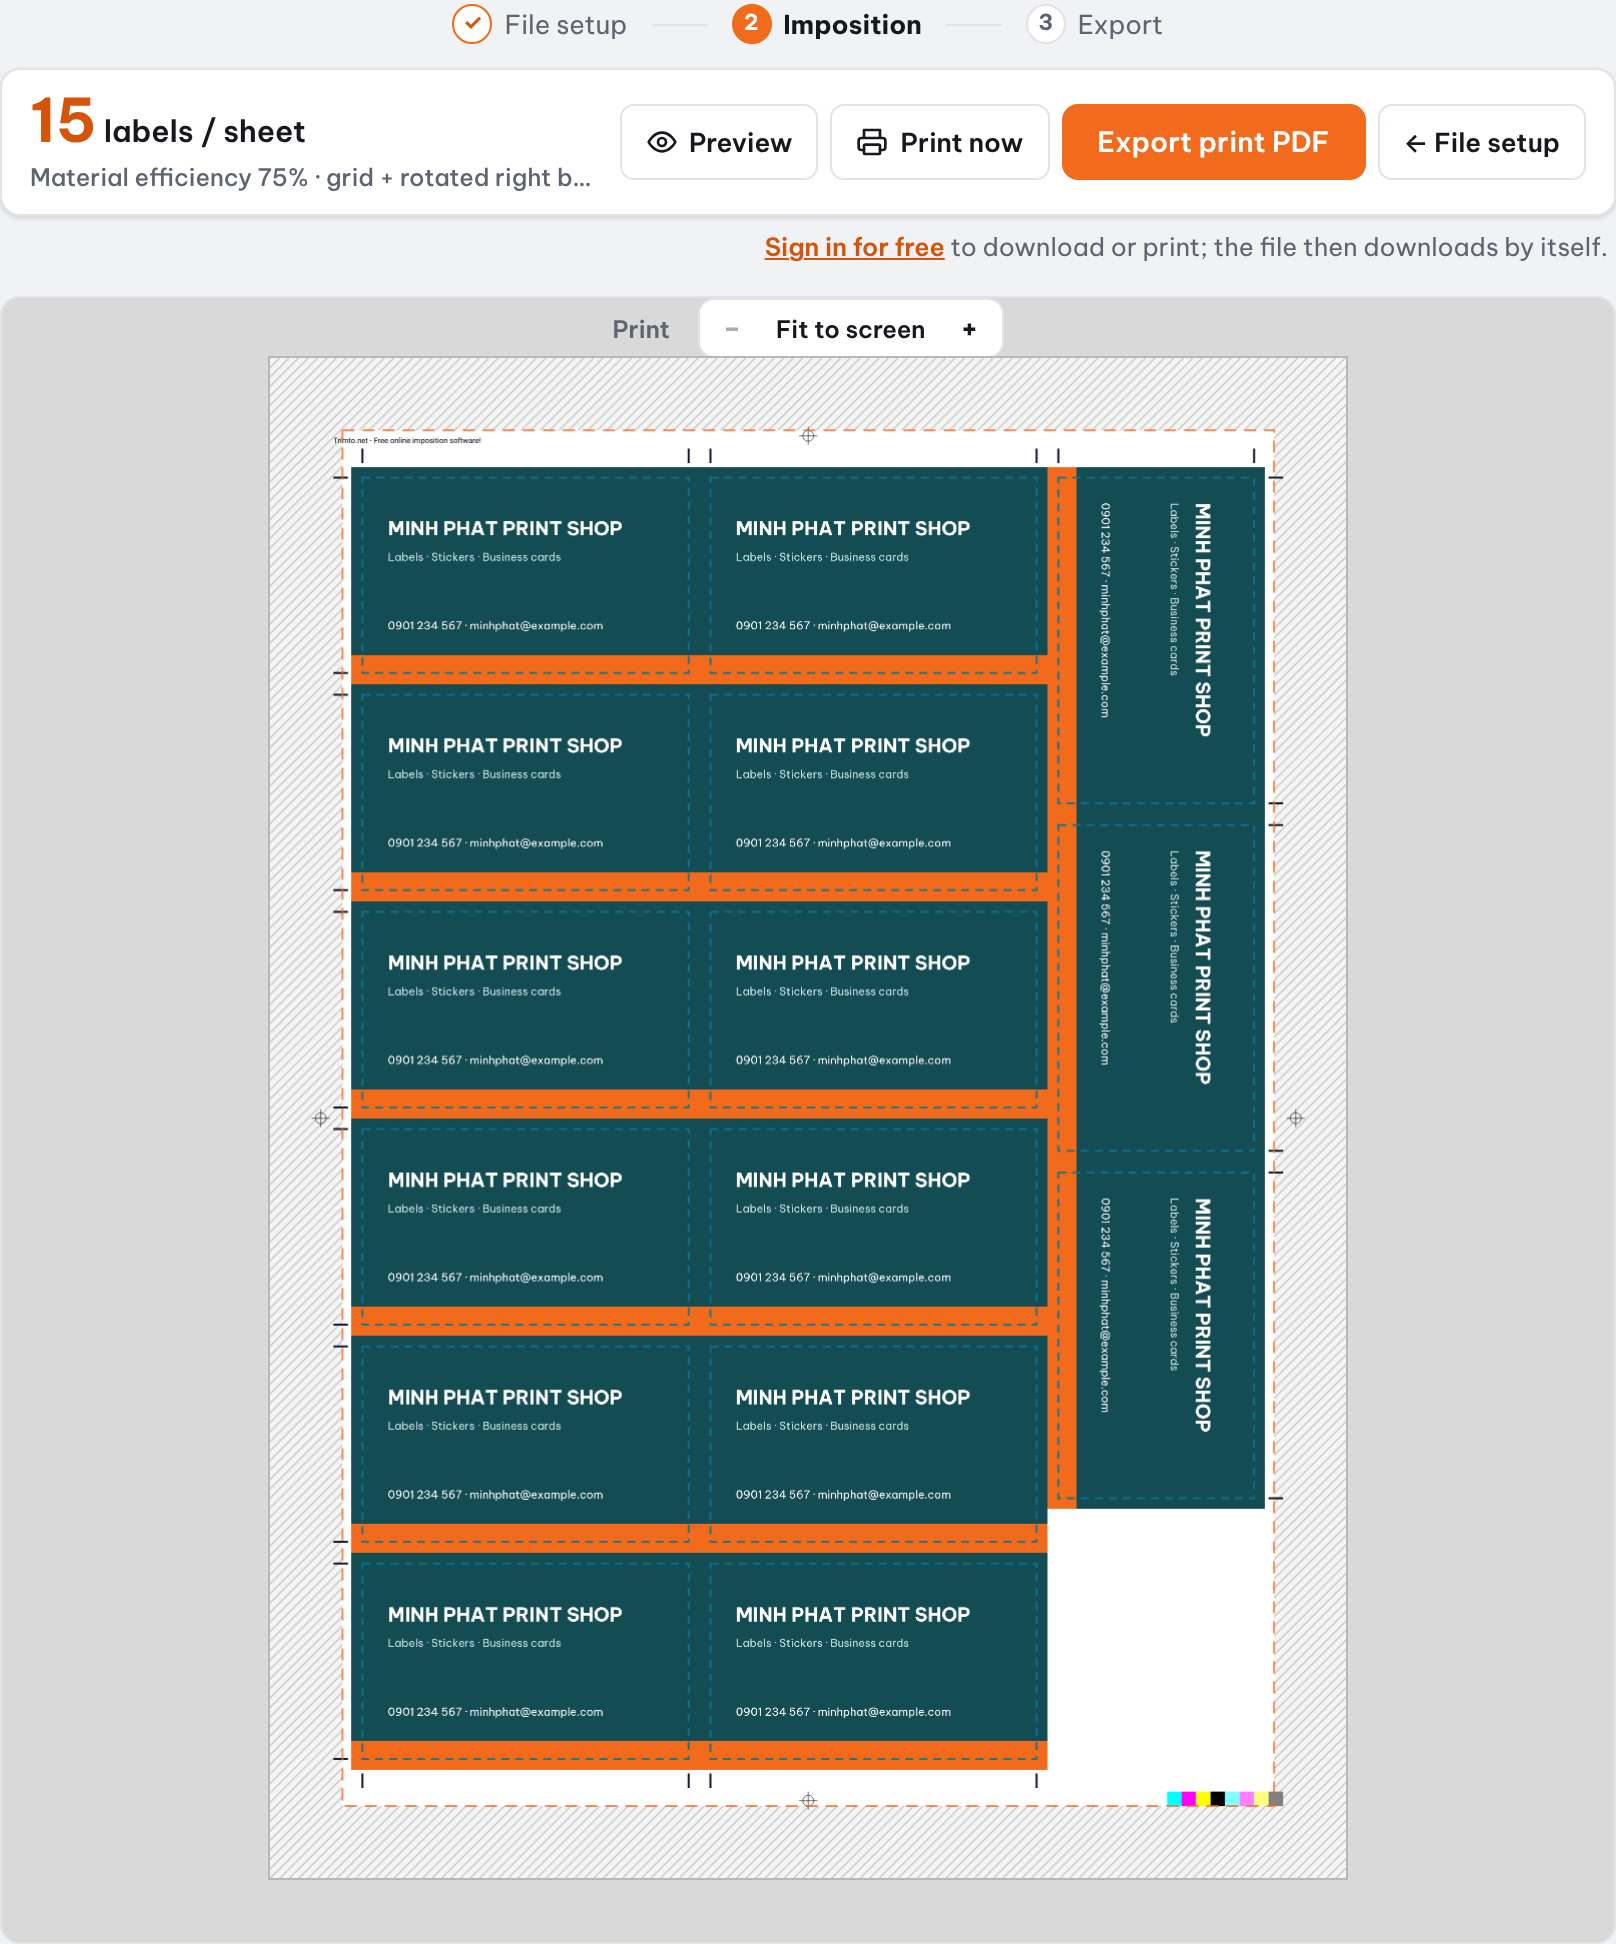

Die cut sticker nesting on Trimto: drop in PDF, SVG, PNG or JPG label files and a cut contour is traced around each label, inner holes included, then the labels are nested tightly with free rotation on A4, A3, SRA3, Letter, Tabloid or a custom sheet. Export a print PDF with the die line on its own page or as a CutContour spot color for print and cut machines, free and without uploading your files.
Features
- Auto-generate cut contours from graphics: circle, rounded corner, custom shapes, and interior holes
- Adjust cut line offset and sticker spacing in millimeters
- True-shape nesting with free rotation to maximize stickers per sheet
- Print by quantity: calculate the minimum sheets needed across multiple designs
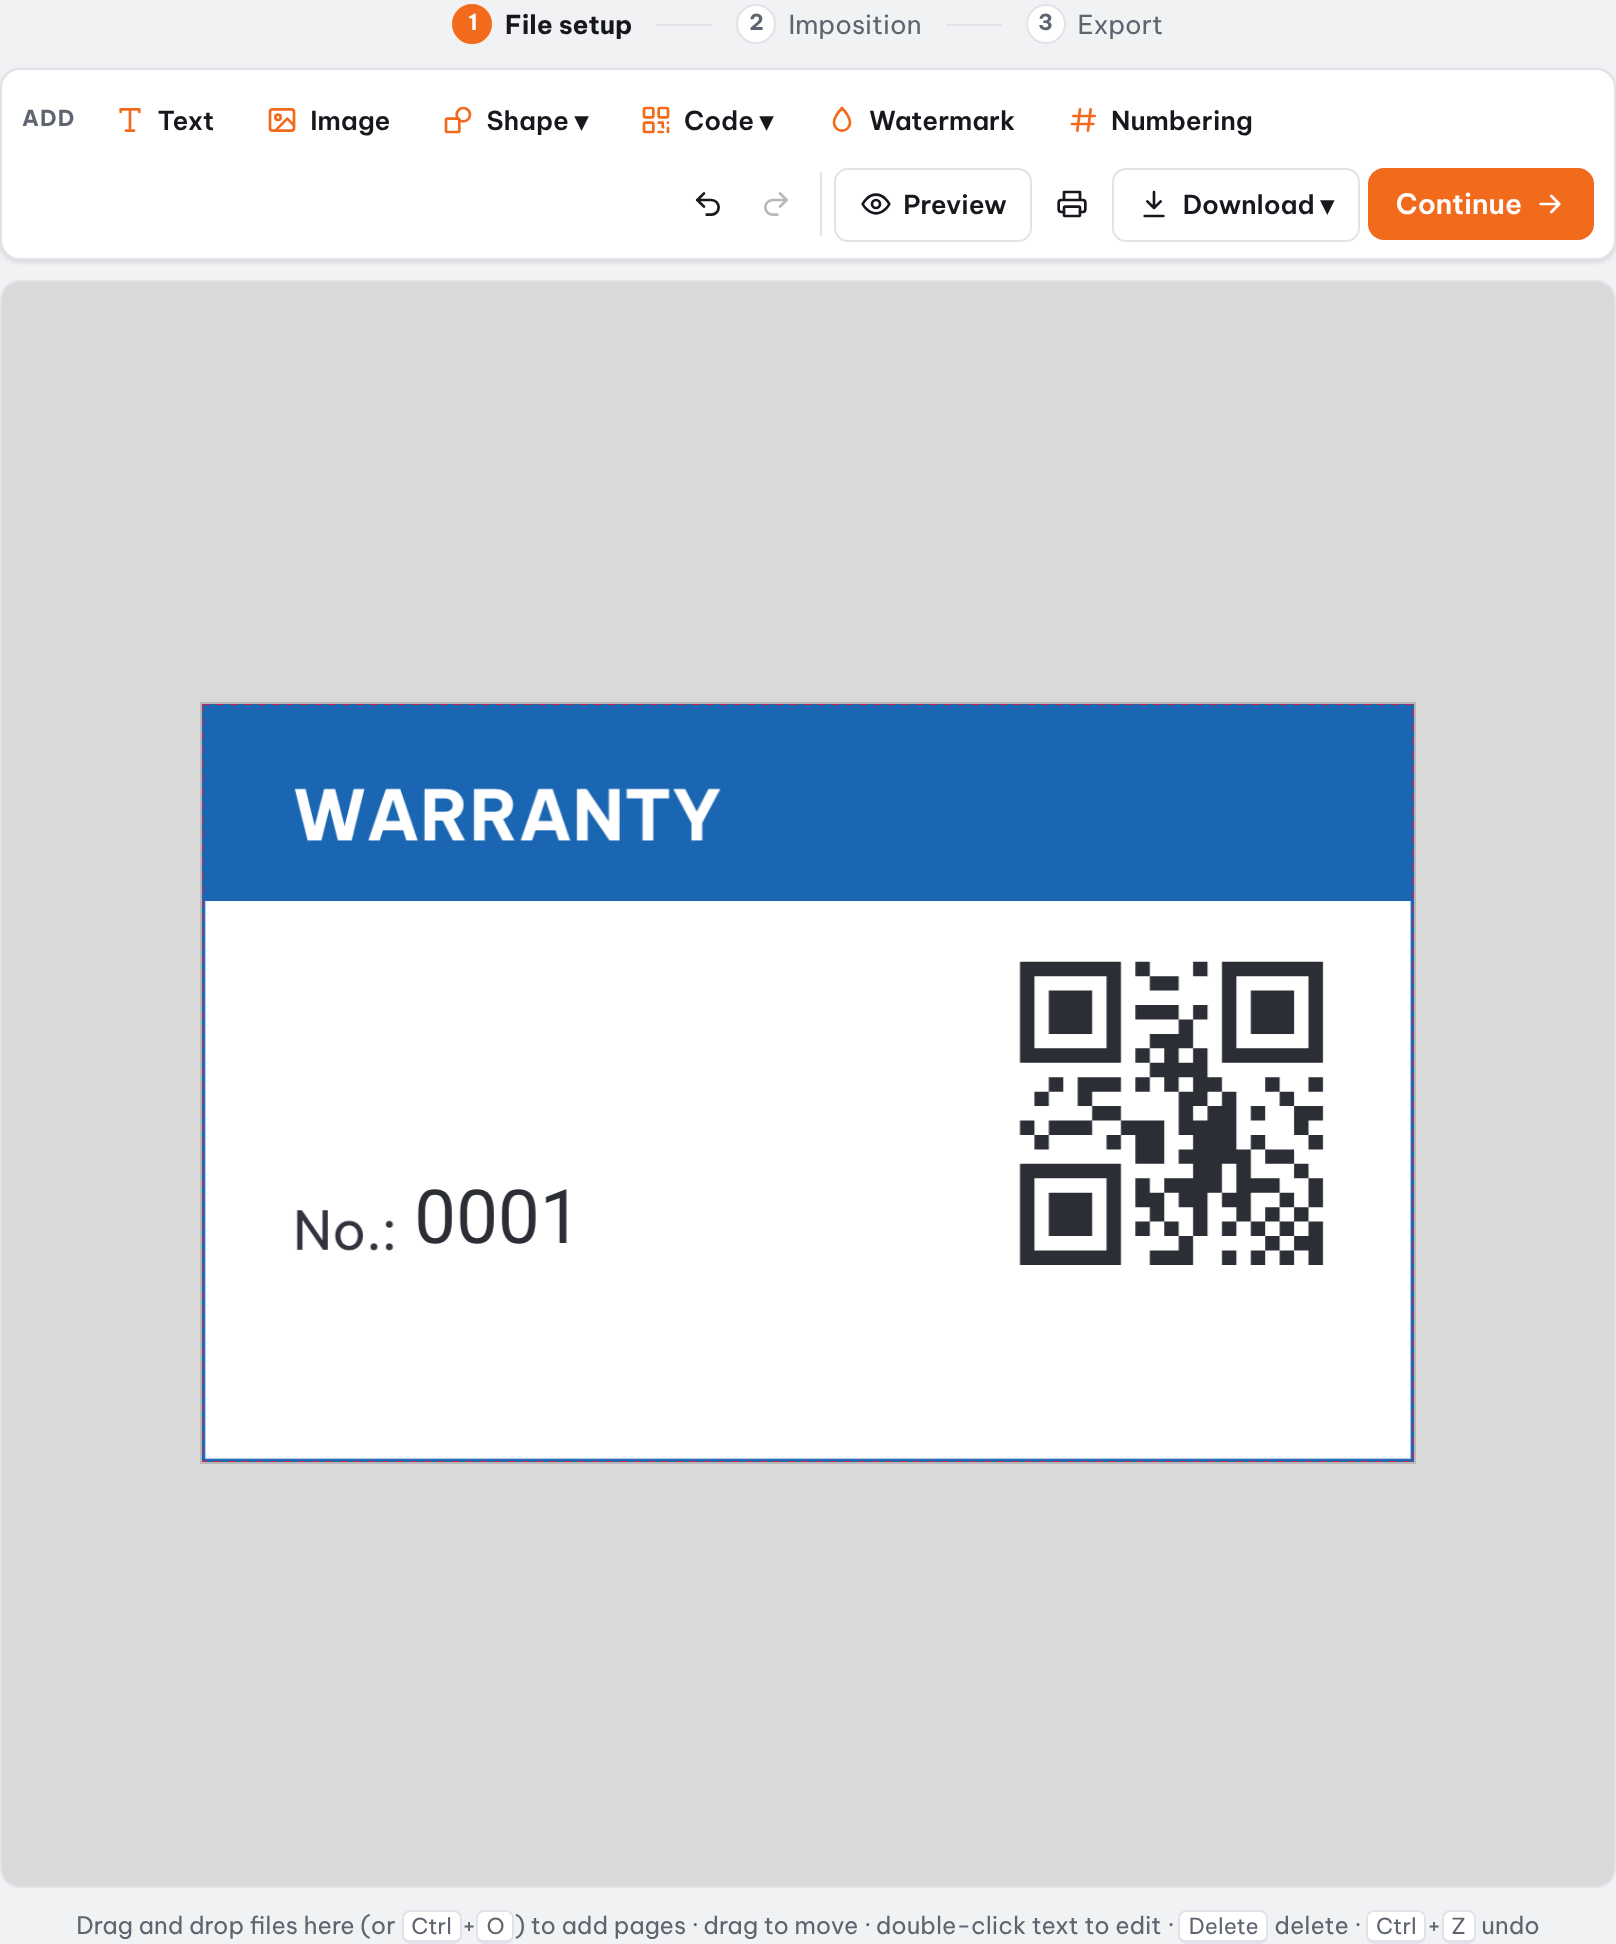
- Add sequential numbering, QR codes, and barcodes to each sticker
- Files process locally in your browser—nothing is uploaded to a server
How it works
- Open your sticker design file; each PDF page is treated as an individual design.
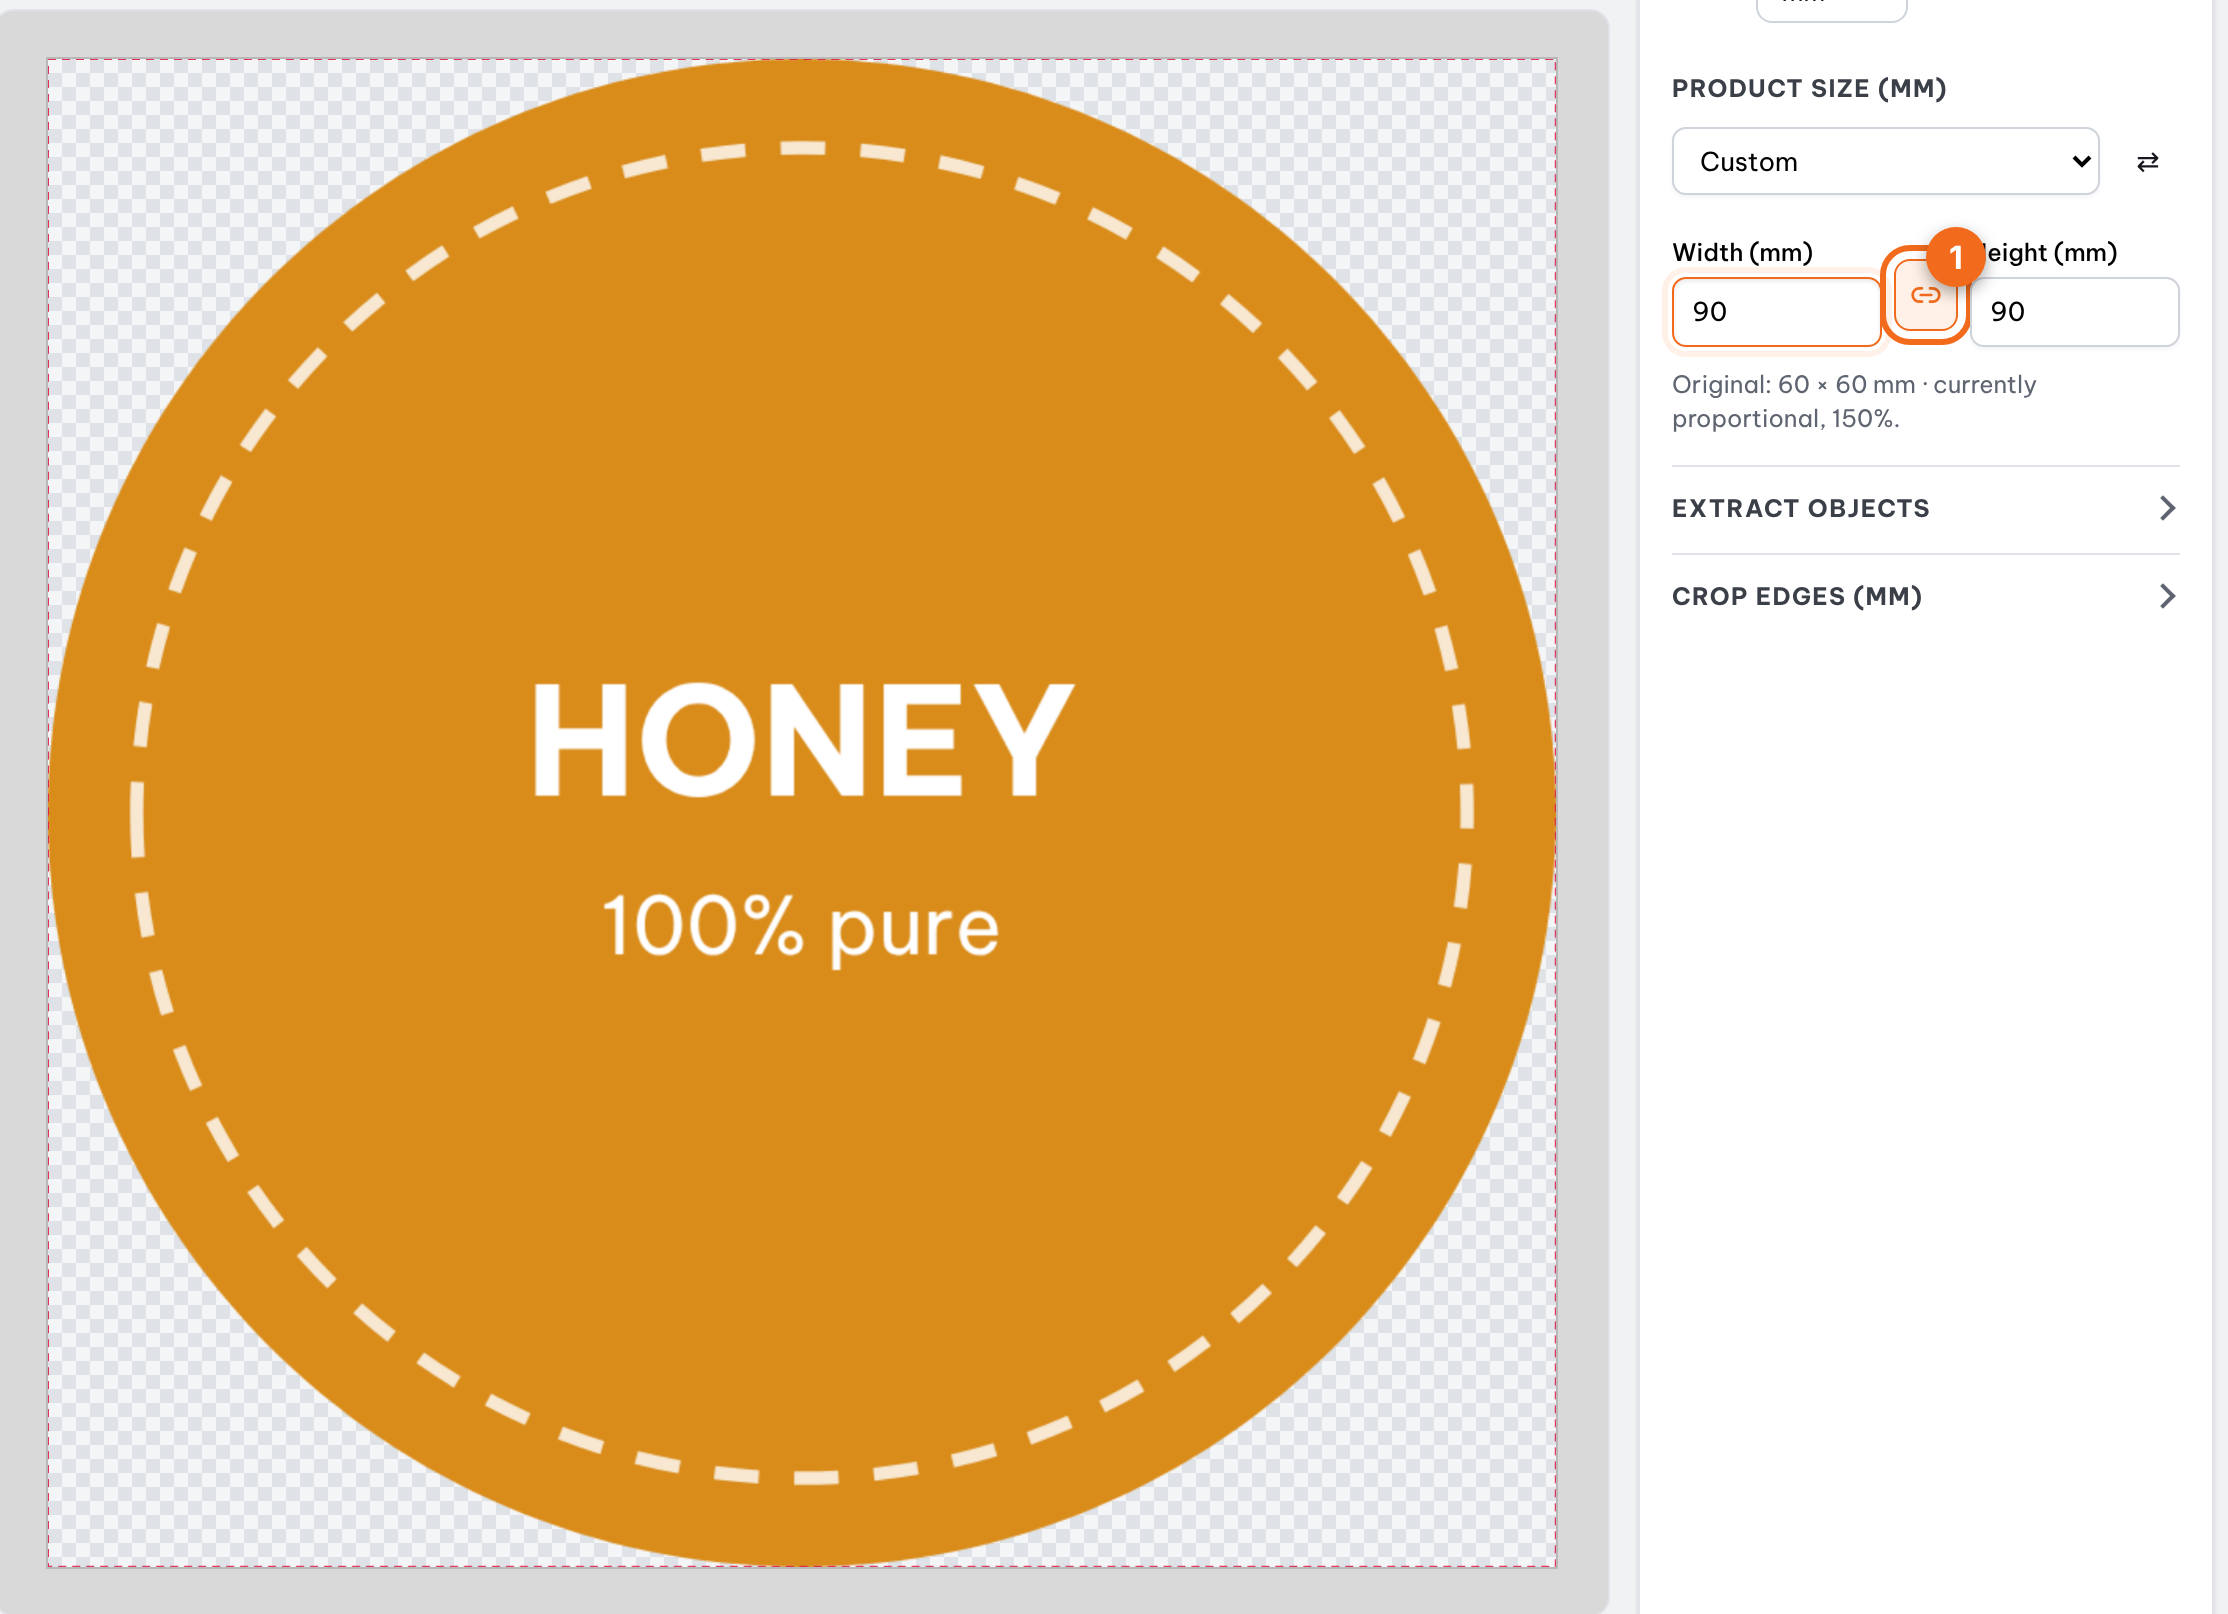
- Select "Die-cut nesting" in the left sidebar, adjust dimensions, add text or codes if needed, and click Continue.
- Choose sheet size, safe margins, sticker spacing, and cut line offset, then preview your sheet layout.
- Export print PDF: the cut line goes on a separate last page (K100 stroke) or straight onto the print sheets as a CutContour spot color, to suit your cutter.
What is a die line (cut contour)?
A die line, or cut contour, is the vector path that tells a die cutter or vinyl cutter where to cut. For round, rounded-corner or logo-shaped stickers, drawing it by hand in Illustrator or CorelDRAW is slow and easy to misalign with the artwork.
Trimto traces the outer edge of each label to build the cut line. Text and graphics inside the background are not cut; empty areas inside a label, such as a hang hole, become inner cutouts. For PNG or JPG artwork on a white background, turn on "Remove white background around label" so the cut line hugs the shape. Each design in the left column shows how many cut regions and holes it has, for a quick check.
Which products to guillotine cut, which to die cut?
The wrong cutting method wastes paper or leaves bad edges. Rule of thumb: rectangles big enough for a blade are guillotine cut with step and repeat; round, rounded, shaped, holed or very small items are die cut.
| Product | Cutting | Why |
|---|---|---|
| Square-corner business cards | Step and repeat | Rectangular, large runs, a guillotine cuts the whole pile fast and cheap |
| Flyers, coupons, vouchers, tickets | Step and repeat | Rectangular; numbered tickets can use cut and stack order |
| Medium and large square or rectangular labels | Step and repeat | Big enough for a blade, straight edges |
| Square-corner cards, bookmarks, tags without holes | Step and repeat | Rectangular, no cutouts |
| Round, oval, rounded-corner labels | Die cut | A guillotine only cuts straight lines |
| Stickers and decals shaped like a logo or character | Die cut | The cut line follows the artwork edge |
| Very small square or rectangular labels | Die cut | Too small for a blade, easy to misalign |
| Hang tags and labels with holes | Die cut | Holes are cut together with the outline |
| Rounded-corner or custom-shaped business cards | Die cut | Curves and rounded corners need a cut line |
Sticker sheet layout: free rotation to save material
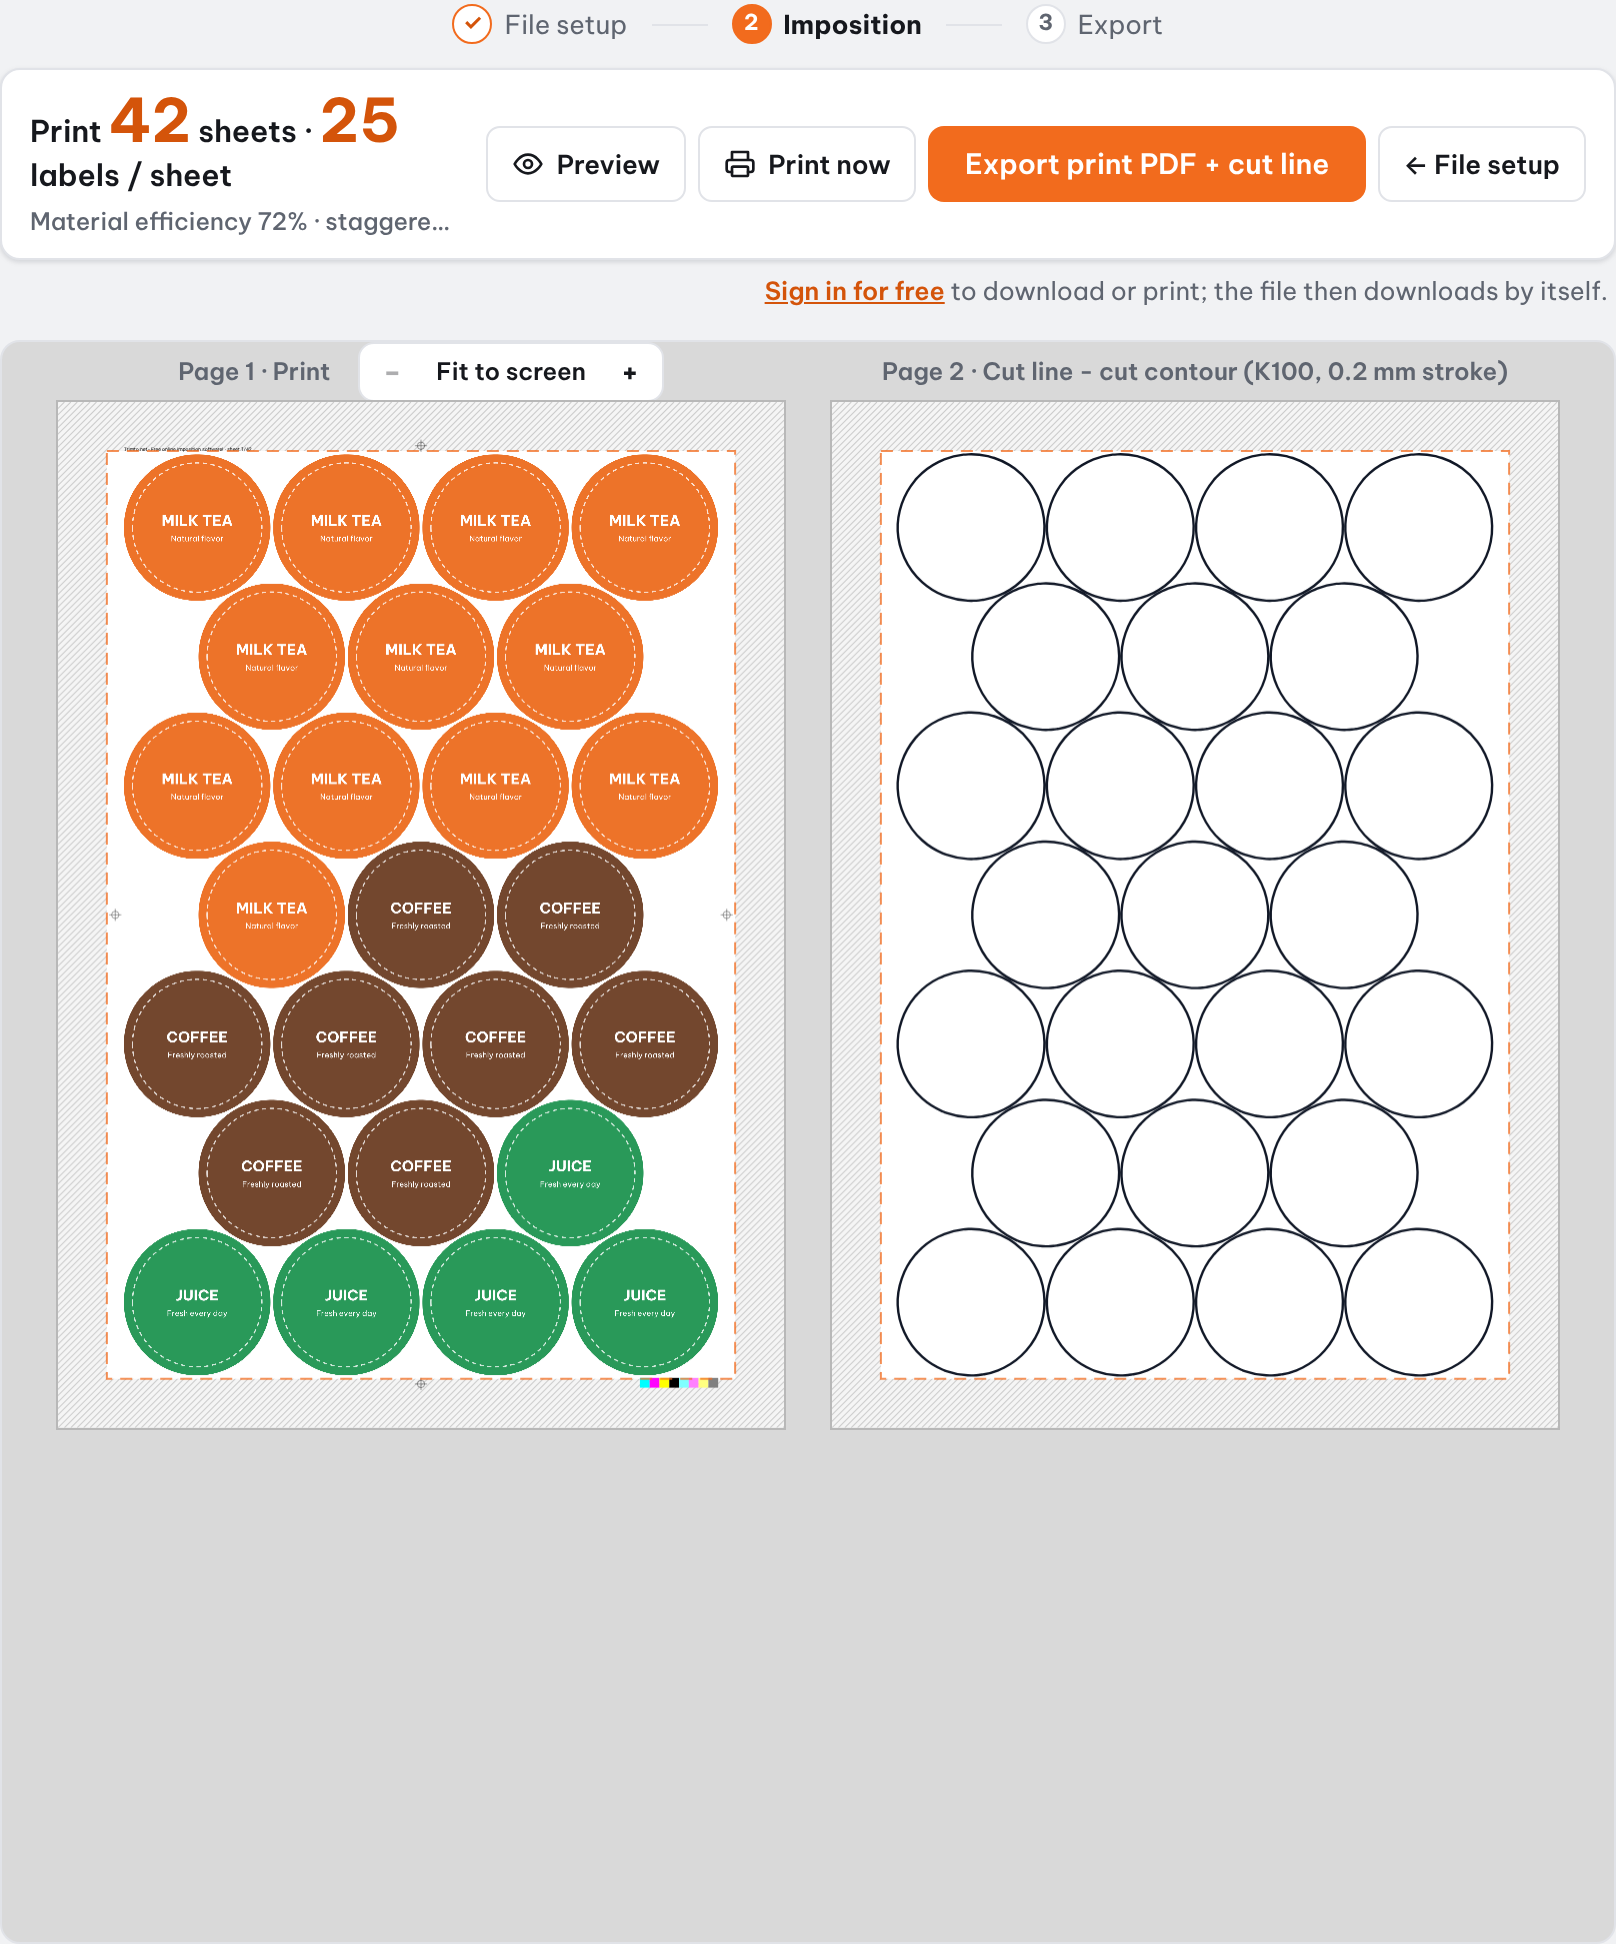
Odd-shaped labels in a straight grid waste a lot of material. Trimto tries several arrangements and rotations to fit the most labels per sheet; when two layouts give the same count, it picks the one with fewer orientations, which is easier to weed and check.
| Rotation | Layout | Use when |
|---|---|---|
| No rotation | Keeps the file orientation | Labels must all face the same way |
| 90° only | Rotates 0° or 90° | Rectangles and rounded rectangles, fast results |
| Free | Also tries angled placements | Irregular shapes, maximum labels per sheet |
Label spacing and cut line offset
- Gap between labels: the space between two cut lines, 1 mm by default, usually 1-3 mm depending on the cutter.
- Cut offset: a positive value pushes the cut line outward from the artwork, a negative value pulls it inward; usually 0-0.5 mm.
- Full-bleed backgrounds: pull the cut line in slightly so it cuts into the color and no white edge shows if the machine drifts.
- The workspace matches the exported file: a same-page cut line is drawn on the print, a separate-page cut line shows as page 2 next to the print.
Die line on a separate page or as a CutContour spot color
The "Cut line in the PDF" setting has two placements, depending on your machine:
| Placement | In the PDF | Use for |
|---|---|---|
| Separate page | The last page is a K100 black line, 0.2 mm thick, same size and position as the print | Die cutters and vinyl cutters that take a separate cut file |
| Same page | The cut line sits on the print as a CutContour spot color (renamable), overprint, own layer | Print and cut machines such as Roland, Mimaki, Summa |
Gang run several sticker designs by quantity
For one design, choose "Fit maximum on 1 sheet" to get the most labels per sheet. For several designs with their own quantities (say 300 of A and 120 of B), choose "Print by quantity": Trimto works out the fewest sheets, and every design always gets at least the quantity you asked for.
In the prepress step you can add sequential numbers, QR codes, barcodes or Excel data so each label is unique; the whole series is nested and cut like normal labels.
Printer marks and saved machine settings
- Registration marks for color alignment.
- Color bars in the margin to check ink.
- An info line (Roboto font) with file name, date and sheet number, or your own text.
- Save sheet size, margins, spacing and cut line placement as a named template per machine; export and import templates as .json.
Sending the file to a die cutter or vinyl cutter
Print the print pages at 100% scale. Open the cut line page in your cutter software, align it to the sheet origin, set the stroke as the cut path, and test one sheet before running the batch. If the cut line is shifted evenly in one direction, the cause is usually the printer or the sheet feed, not the file.
Step-by-step guides
Further reading
FAQ
- When should I use die-cut nesting instead of guillotine cutting?
- Round, rounded-corner, or custom-shaped stickers require die-cutting. Square or rectangular stickers that are too small for a guillotine paper cutter, or require clean, rounded edges, should also be die-cut.
- What format are the exported cut lines in?
- Cut lines are vector strokes aligned exactly with the print sheets. With "Separate page" they sit on the last page of the PDF (black K100) for import into die-cutter or plotter software; with "Same page" they are drawn on the print sheets in a CutContour spot color for print-and-cut machines.
- What if my sticker has interior cutouts?
- Trimto detects inner holes and generates vector cut paths for both outer contours and interior cutouts.
- Is die cut sticker nesting on Trimto free?
- Yes. Creating cut lines, nesting and PDF export are free with no watermark. Files are processed in your browser and never uploaded to a server.
- How do Roland, Mimaki or Summa print and cut machines read the file?
- At the imposition step, set "Cut line in the PDF" to "Same page". The cut line sits on the print as a CutContour spot color, overprint, on its own layer, which is how print and cut software picks up cut paths. If your machine expects another name, change it in "Spot color name".
- Can I make a cut line from a PNG or JPG with a white background?
- Yes. Turn on "Remove white background around label" so Trimto drops the surrounding white and the cut line follows the shape instead of the image frame.