
How to open design files and organize pages
User guide contents ↓This is the first step in Quick Imposition: bringing your design files for labels, stickers, business cards, and flyers into Trimto. Each page of the file counts as one design—for example, a 3-page PDF contains 3 different label designs.
Supported file formats in Trimto
| Format | Notes |
|---|---|
| Each page is one design. Preserves vectors, CMYK color mode, and spot colors. | |
| SVG | Preserves vectors. |
| PNG, JPG | Images should be 300 DPI at actual print size. PNG preserves transparency. |
Files are processed locally on your computer and never uploaded to a server.
Open a file
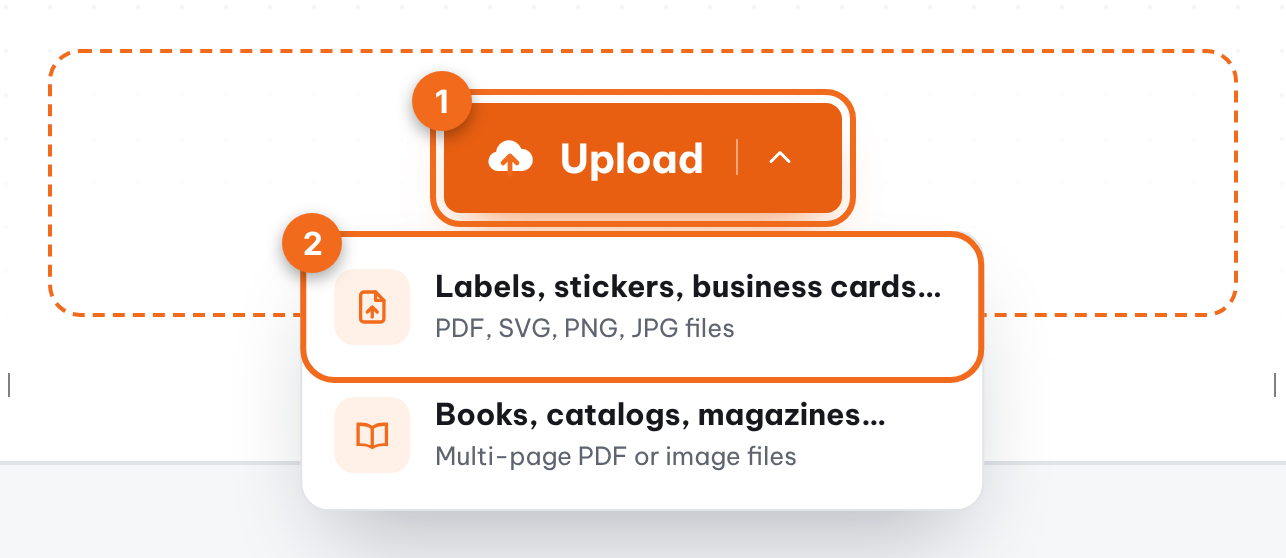
- Go to trimto.net, click Upload, select Labels, stickers, business cards…, and choose one or more files—or drag and drop files directly into the Upload area. Don't have a file ready? Click Try with a sample file below the button.
- If you are already in the workspace (on the top bar choose Tools → Quick imposition), do the same in the center of the screen or press Ctrl + O.
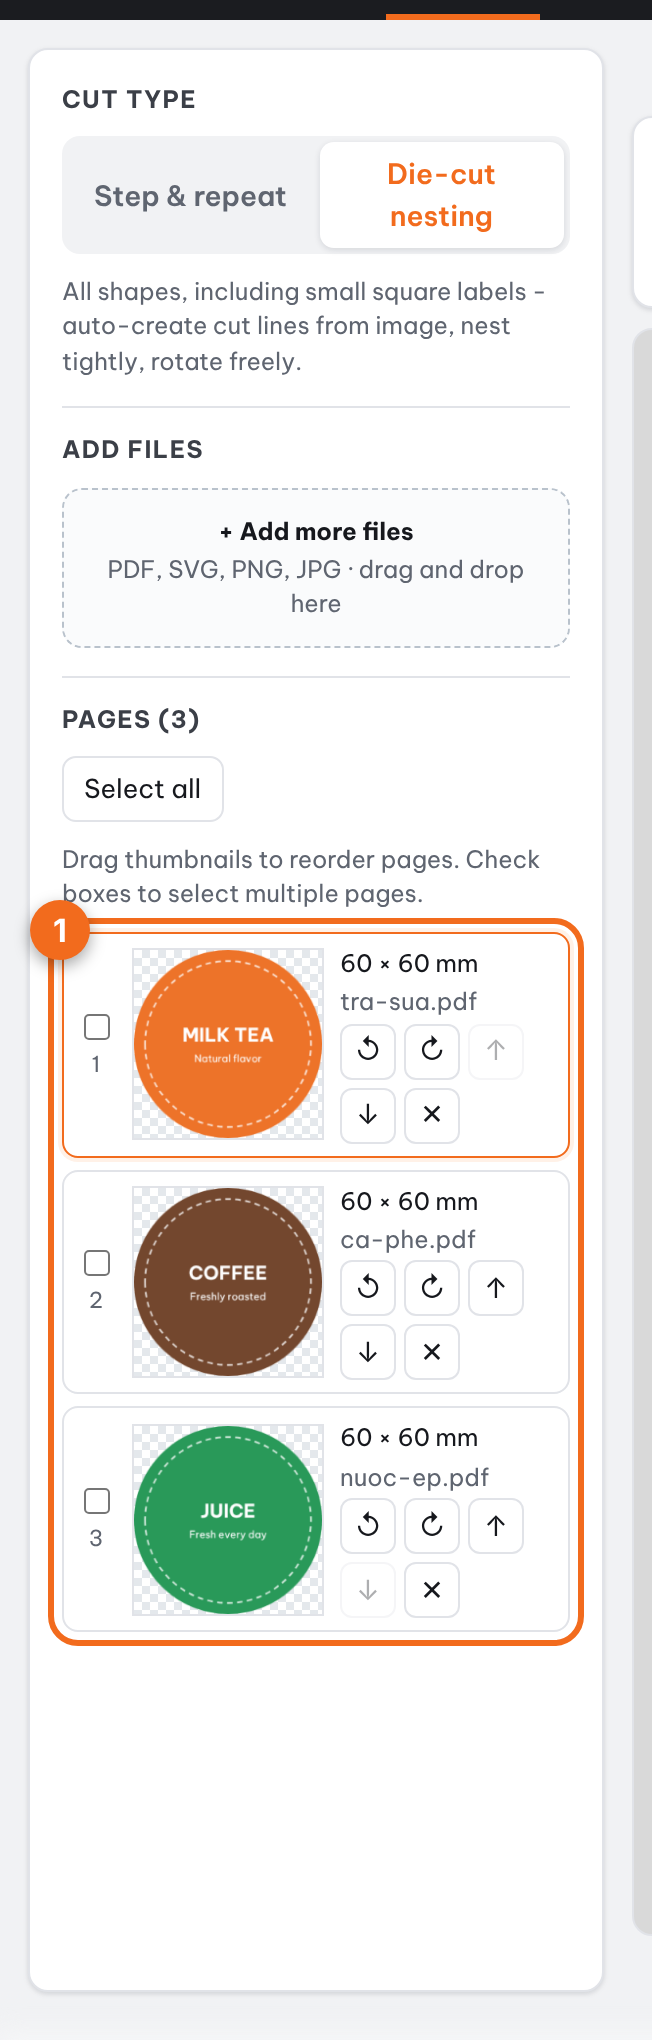
After opening, your pages appear in the left sidebar (page list), and the currently selected page displays in the center canvas for editing.
Tip: PDF files with 24 pages or more are typically books or catalogs. Trimto will ask if you want to switch to Book & Catalog Imposition—that mode makes imposing pages, creating covers, and adding page numbering for books much faster.
Pick assets from Stock images & vectors
Need images? Go to Stock images & vectors, search for free photos, vectors, or icons, click an asset, and select Create print file: Quick Imposition opens and automatically loads the image as a page at its original size.
Add more files
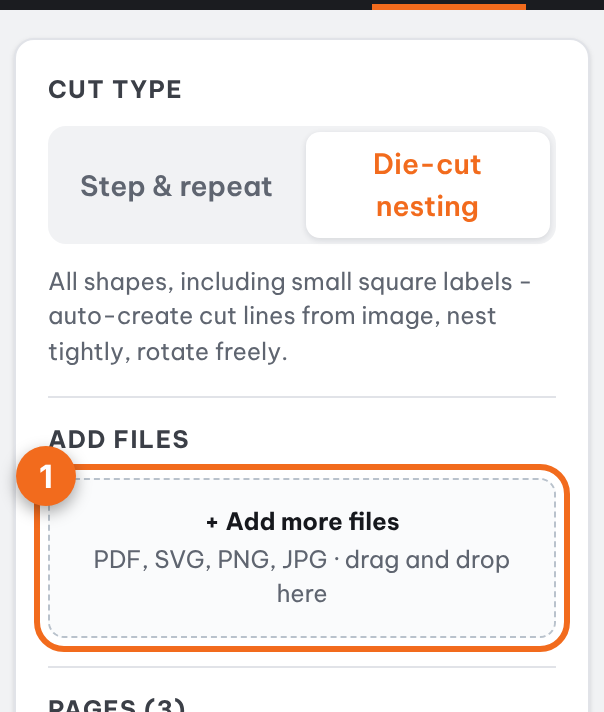
Once you have loaded pages, the left sidebar displays an Add files box: click to select files or drag and drop them into the box. New pages are always appended after existing pages; to change their order, drag and drop them in the list.
Arrange, rotate, and delete pages
Each page in the list has action buttons:
| Button | Action |
|---|---|
| ↺ ↻ | Rotate page left / right 90° |
| ↑ ↓ | Move page up / down one position |
| ✕ | Delete page |
You can also drag and drop thumbnails to reorder pages quickly.
To perform actions on multiple pages at once: check the box on each page (or click Select all), then choose Split to PDF (downloads the selected pages as a separate file) or Delete.
Tip: Made a mistake? Press Ctrl + Z to undo, or Ctrl + Y to redo.
Next steps
Choose your cutting method at the top of the left sidebar—Step & repeat (straight cut) or Die-cut nesting (auto die-cut)—and prepare each page for print. Bleed is set at the imposition step; see Add bleed for print files.