
How to size, rotate and trim artwork to content
User guide contents ↓After opening your file, each page must be set to the correct product size—the final cut size of the sticker. Adjust this in the right panel when no object on the page is selected.
File content (images or PDFs) always fills the size: changing the dimensions scales the artwork accordingly, leaving no blank space between the artwork and the sheet edges. The light gray background around the page represents the area outside the finished size and will not be printed.
Original size and custom size
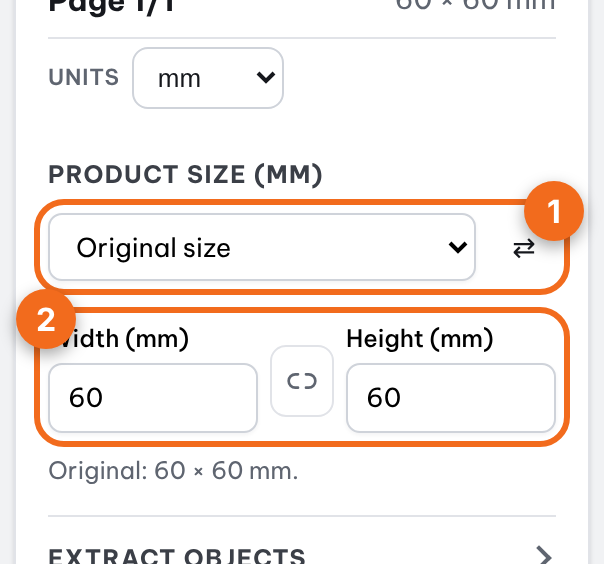
Under Product size (mm), the size dropdown indicates the current page dimensions:
- Original size (default upon opening): matches the exact artwork dimensions in the file. The line below displays Original: width × height mm. Pick it again if you have resized the page and want to revert to the original dimensions.
- Presets (A6, A5, A4, Letter, business cards, postcard…): pick one from the same dropdown to resize the page to it. The ⇄ button next to it swaps portrait and landscape.
- Custom: selected automatically when you edit Width or Height. The line below indicates the scale relative to the original, such as proportional, 50% or width 120%, height 80% (distorted).
The page in the center canvas expands or shrinks according to the values you enter, allowing you to instantly preview the new size compared to the original.
Resizing: lock aspect ratio vs. free transform
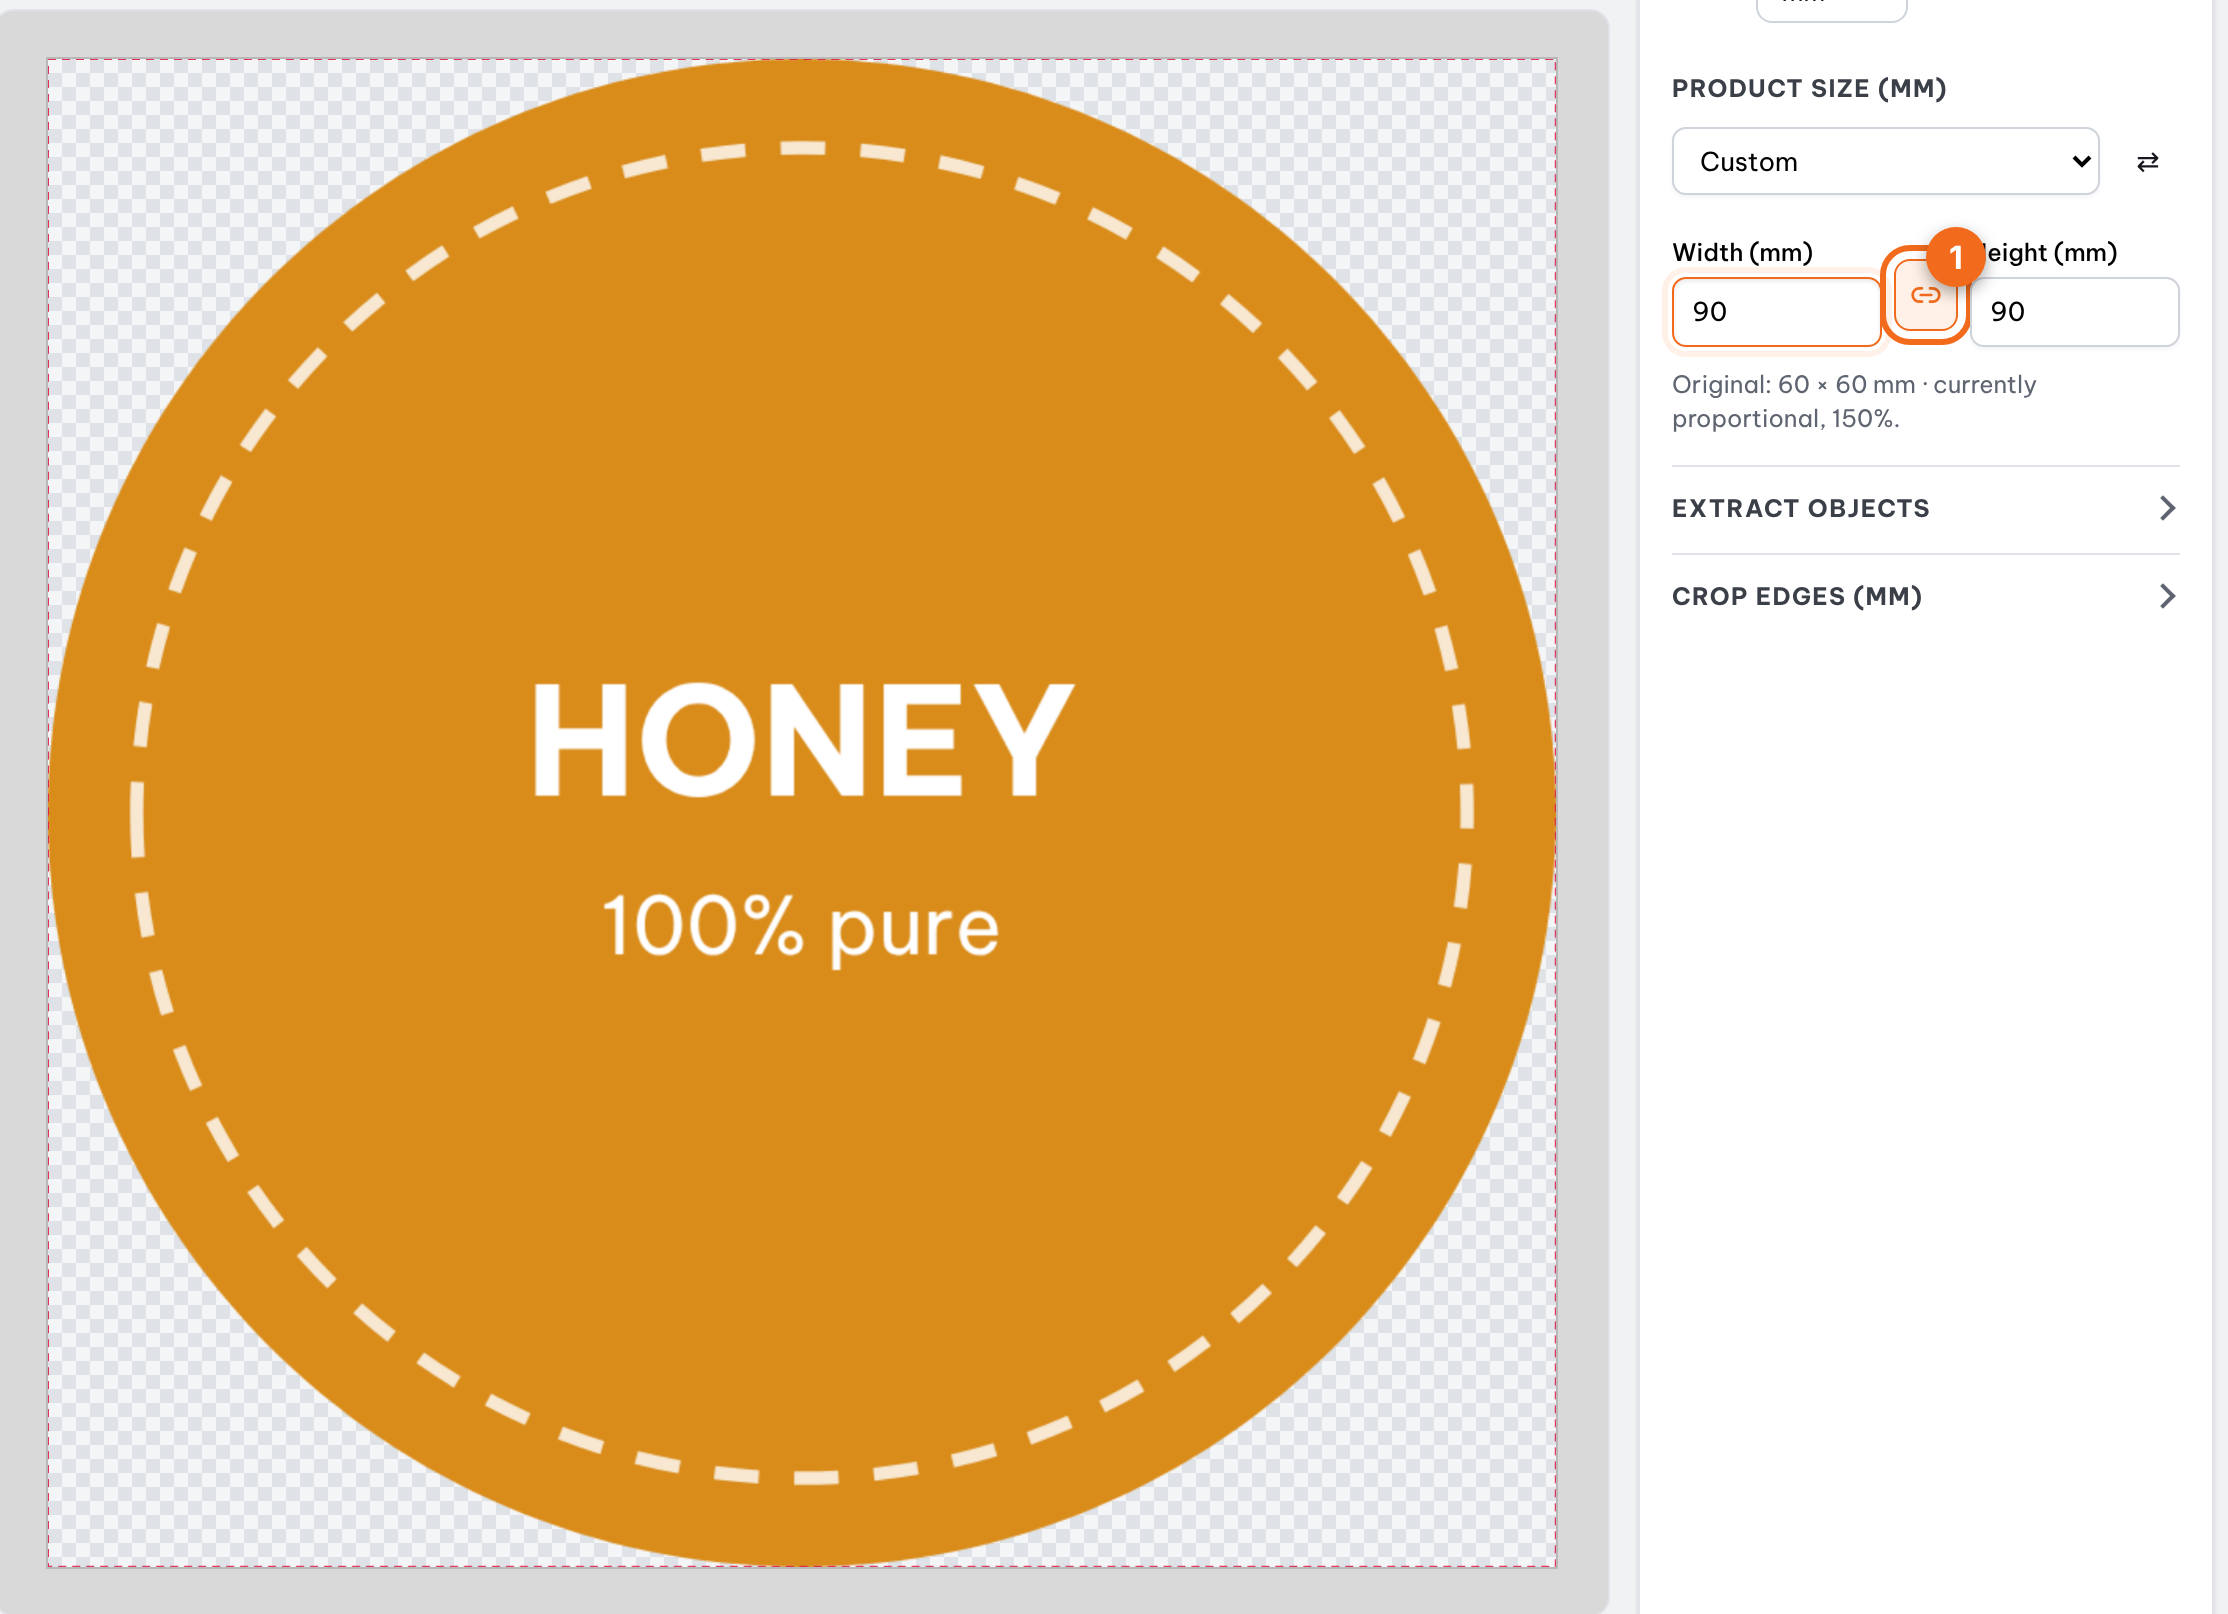
Between the Width (mm) and Height (mm) fields is the lock aspect ratio button (chain link icon):
| Lock aspect ratio | Enter Width or Height | Result |
|---|---|---|
| Off (default) | Only that dimension changes | Artwork is stretched or squished (distorted) |
| On (connected chain link, active button) | The other dimension updates automatically | Artwork scales proportionally without distortion |
For example: to resize an original 60 × 40 mm sticker to 90 mm wide without distortion, turn on the aspect ratio lock and enter 90 for Width. Height automatically updates to 60.
Other ways to resize:
- Click preset sizes: A6, A5, A4, Letter, Business card. When the aspect ratio is locked, the artwork scales proportionally to fit within the preset (no distortion); when unlocked, the page takes the exact preset dimensions and the artwork stretches to fill it, which may cause distortion.
- ⇄ Orientation to swap width and height.
- Prefer inches or points? Pick a unit in the Units box in the right panel, just above Product size (mm, cm, in, pt, pc, px). All size fields and readouts switch to that unit; the default is mm.
Tip: numeric input fields do not auto-correct while typing. To enter 120, type "1", "2", "0" normally; values below the minimum limit (5 mm) are reset to 5 only after you leave the field.
Rotate pages
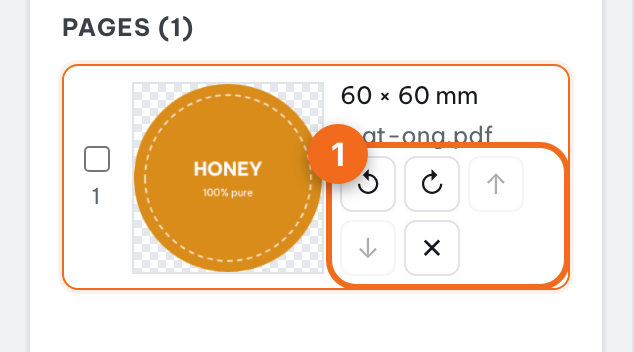
In the page list (left panel), click ↺ or ↻ to rotate the page 90°. Only the currently selected page will rotate.
Trim to content, crop margins
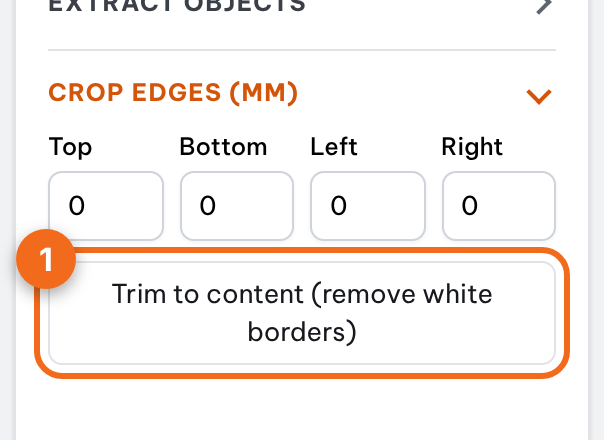
Files often contain excess white borders around the artwork. Expand the Crop edges (mm) section:
- Click Trim to content (remove white borders): Trimto automatically detects artwork boundaries and removes surrounding white space.
- Alternatively, enter the margin to crop in mm for Top, Bottom, Left, Right.
Cropping margins or rotating pages preserves your scaling settings, keeping artwork dimensions intact.
Multiple stickers on a single page
Client files sometimes place multiple stickers on a single page. Open the Extract objects section in the Properties panel: the page and its detected objects appear right in the workspace, and collapsing the section brings you back. Objects 0.5 mm or more apart are separated, and specks smaller than 0.5 mm are ignored. Click the stickers you want to keep (selected items highlight in green), then extract each sticker into an individual design. Angled stickers are automatically straightened while retaining clean vector paths.
Tip: for Die-cut nesting, trimming to content ensures the cut line fits tight to the artwork, maximizing the number of labels per sheet.